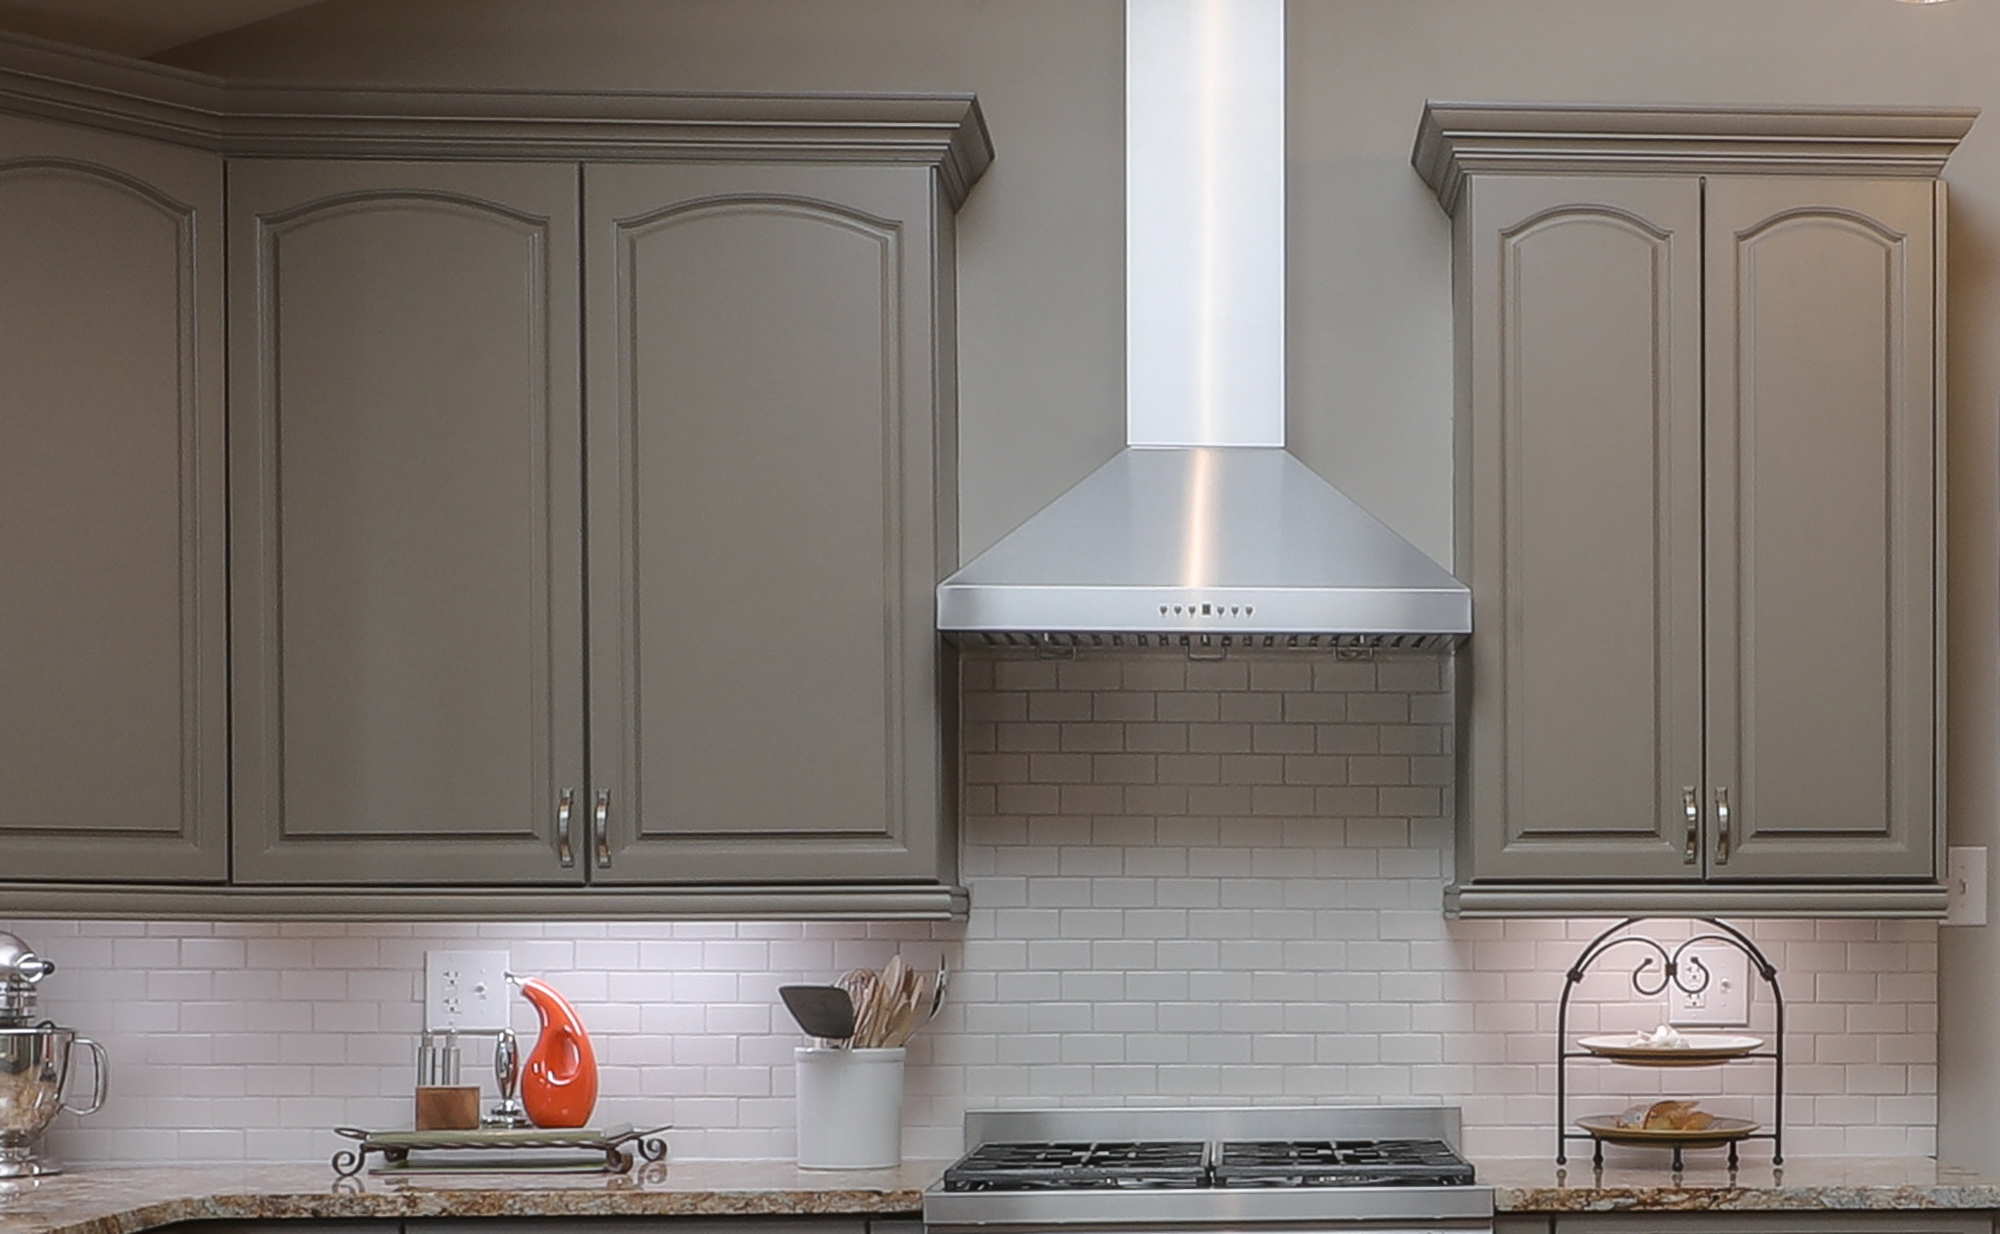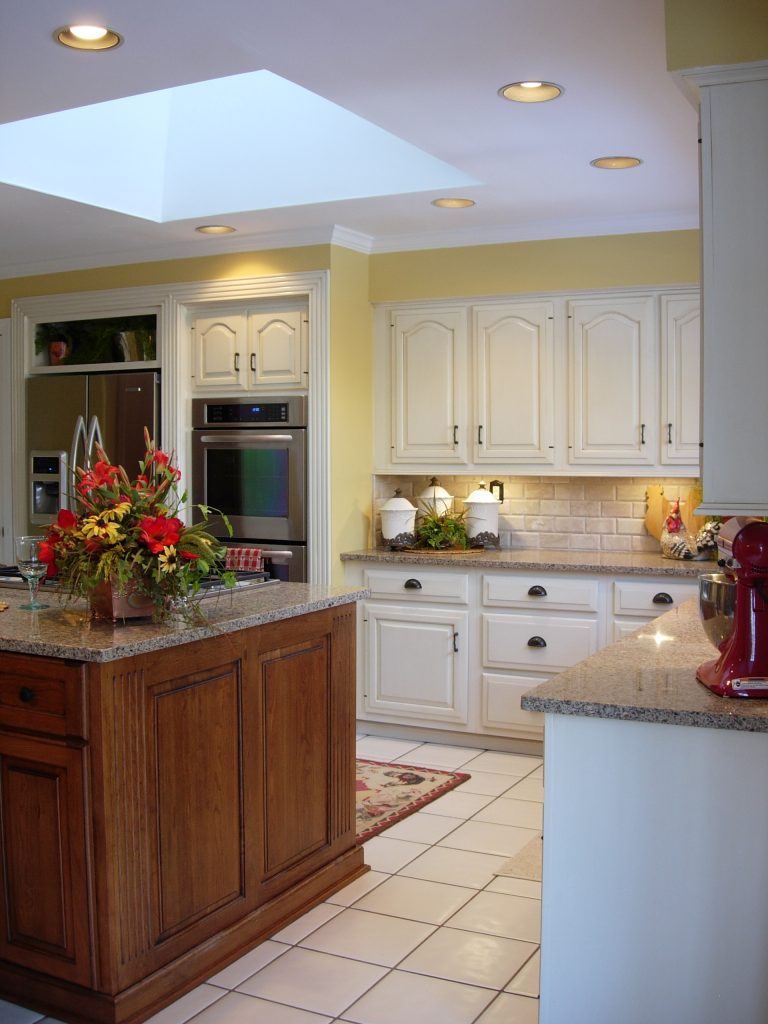
And now our favorite part… Painting the walls
Painting the walls is where the magic happens. The walls are in great shape because we’ve spent the majority of our time and estimate on prep work to make sure the walls are ready to go. Nail pops fixed, holes patched, stains treated. Now in just a short amount of time, the room will come to life through color! And we love it.
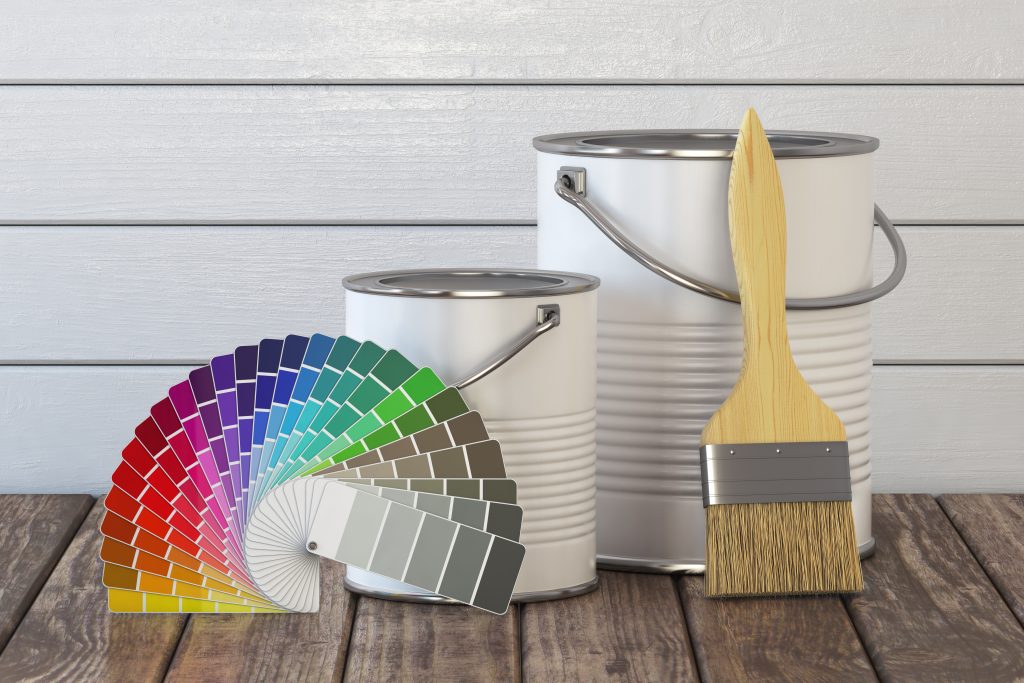
Generally, the standard is two coats of paint for most interior projects. Washable paint dries to recoat in six hours. Millwork (Wood trim around doors and windows, baseboard, chair rail) we normally use a latex waterborne enamel by Benjamin Moore called satin impervo enamel which dries in six hours, but we normally let dry overnight. The EPA ruled, over 10 years, that the paint companies had to remove chemicals from the oil paint that was putting hazardous fumes into the air. So because of this, they have created a latex waterborne enamel which works just as well and looks like oil paint used to. There is still oil enamel paint available for homes that are older and have a lot of oil enamel already applied to the trim. Then it is best to stay with the oil enamel. But your selections are much more limited in the oil product than it used to be 10 years ago.
Both Sherman Williams and Benjamin Moore have come up with wonderful latex enamel waterborne paints. They are latex and oil combinations that make the paint work like oil and look like oil. So we have become a latex enamel painters.
Of course the most important part of painting the walls… cutting the walls in.
The better the cut-in, the better the paint job. Start with a steady hand, in some cases it’s about the masking, but other times just a steady hand. And make sure given yourself plenty of room between the trim and where the roller has to end stop on the wall.
Up next the homeowners favorite part… Step 3. Cleaning up

- MODERN RUSTIC HOME - February 11, 2023
- XS ECLECTIC APARTMENT - February 11, 2023
- WHITE BRICK HOME - February 11, 2023